- Get link
- X
- Other Apps
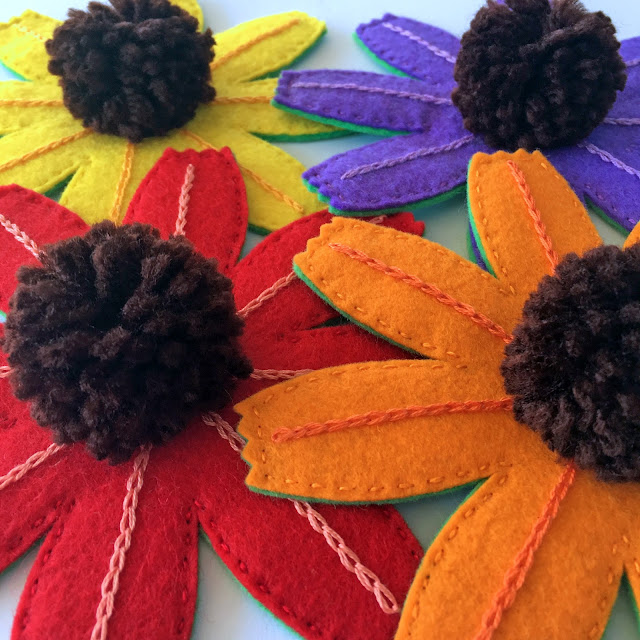
Tomorrow is May Day--the traditional arrival of spring in the Northern Hemisphere. To celebrate the occasion, I made a bunch of bright flowers from WoolFelt and gave them pompom centers. Pompoms make everything more fun--don't you agree? This project requires minimal sewing and embroidery skills, and it's a great way to use felt and yarn scraps from your stash.
Here's what I used:
- WoolFelt from National Nonwovens--Yellow, Lavender, Bright Red, and Mac 'n Cheese
- DMC six-strand embroidery floss in coordinating colors
- Dark brown worsted-weight acrylic yarn
- Cover Pompom Maker--1 5/8" diameter
To make each flower, print the pattern below to the size you
like. (My flowers are bout 5 1/2 inches in diameter.) Use the pattern to cut flower
shapes from your felt. You'll need two flower cutouts for each flower--one for
the front, and one for the backing.
Next, add embroidery to the petals to give them some
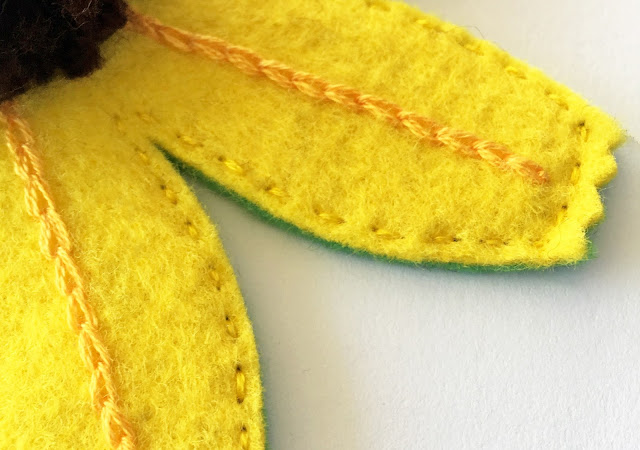
dimension. I used three strands of embroidery floss and chain stitch to create
a line down the center of each petal. If chain stitch isn't your favorite, you
can also use backstitch, running stitch, split stitch, or stem stitch.
When the embroidery is complete, pin the flower front to a flower backing piece. to give thepetals zigzag tips, trim them with pinking shears close to the edges. Sew the flower pieces together with two strands of matching embroidery floss and running stitching, as shown in the photos.
Now it's time to make the pompoms. I used brown yarn for
mine, because it's what I had on hand, but yellow or orange yarn would also
work beautifully. Following the manufacturer's instructions, make one pompom
for each flower. (Click here to visit my tutorial on using Clover pompom makers.)
When your pompoms are trimmed and fluffed, sew one to the center of each flower.
That's it--your fun felt flowers are finished! Hang them on
the wall, scatter them on a tabletop, or make them into a garland to welcome
the long-awaited arrival of May Day.
- Get link
- X
- Other Apps


