- Get link
- X
- Other Apps
Here's what you'll need:
- Three
5" x 6" pieces 14-count white Aida
- Six-strand embroidery floss from DMC® or Sullivans® (see color key)
- Size 24
tapestry needle
- Three large red buttons (maximum size 1 1/2"-diameter)
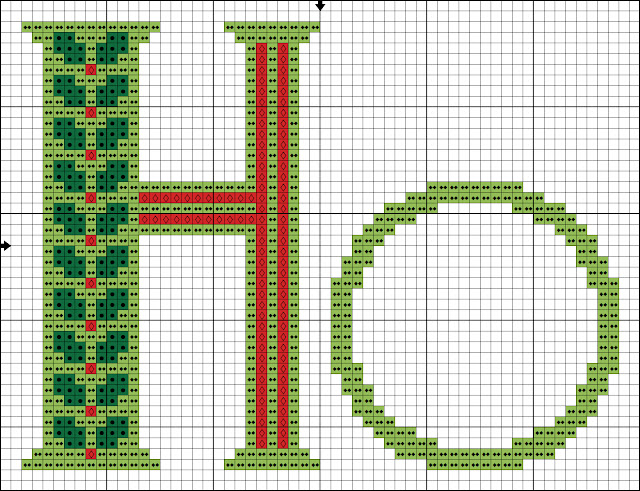
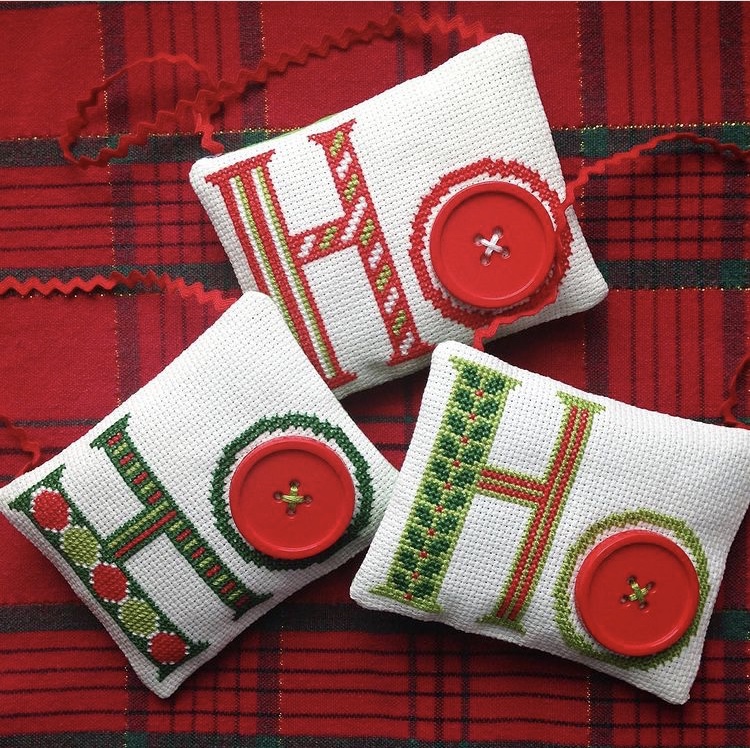
Following the color key and charts below, stitch each design, centered, on one of the pieces of Aida. Use two strands of floss and work over one Aida square. When the all stitching is complete, press each piece on the wrong side, and then sew a button to the center of each "O."
To assemble the ornaments, pin each embroidered Aida piece to a 5" x 6" piece of cotton fabric, right sides together. I used bright green, but you can use any coordinating solid or print you have in your stash. Sew the pieces together, leaving a border of three Aida squares around all edges of the cross-stitch designs. Leave an opening for turning at the bottom. Trim the fabric edges, clip the corners, and turn the ornaments to the right side. Stuff each ornament with fiberfill and whip-stitch the openings closed. For hanging cords, cut 12" lengths of rickrack, ribbon, or twine and sew the ends to the top corners on the wrong side of each ornament.
Merry Christmas--and happy stitching!
 |
| Ho Ho Ho Ornaments ©2020 Kathleen Berlew |
- Get link
- X
- Other Apps


