- Get link
- X
- Other Apps
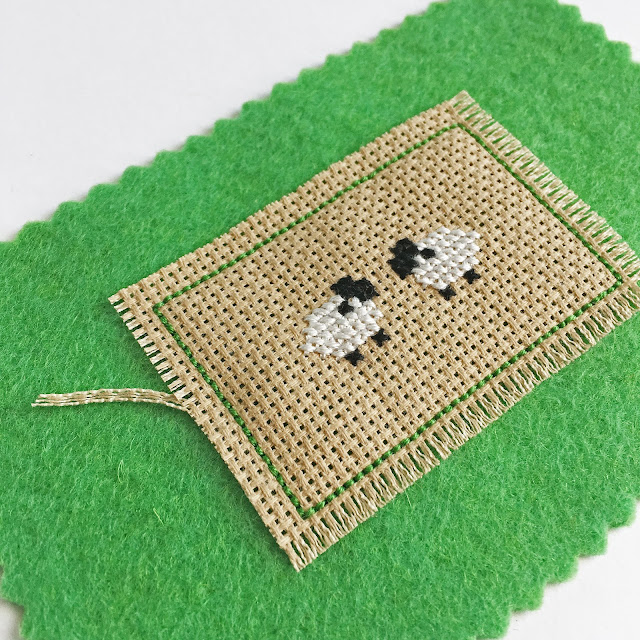
A needleworker can never have too many pincushions--especially if they're as cute as this one. For this project you'll need the most basic of cross-stitching and sewing skills. You'll also need a few simple materials: a small piece of tan 18-count Aida; National Nonwovens WoolFelt--one 3" by 4 1/2" square each magical forest (green) and camel (tan);
DMC six-strand embroidery floss, #310 black, #B5200 white, #702 Kelly green; and pincushion filling (I used ground walnut shells).
 |
| ©2018 Kathleen Berlew |
The first step is cross-stitching the sheep. Follow the chart above and use two strands of floss to stitch the design, centered, on the Aida.
Next, create a fringed edge on the Aida by pulling away the
outer two rows of threads on all sides, as shown below.
To finish the pincushion, sew the two felt pieces together,
right side out, with two strands of embroidery floss, leaving an opening for
filling. My favorite pincushion filler is ground walnut shells. I've seen bags available on Etsy, but,
believe it or not, you can also find it at the pet store. Apparently, ground
walnut shells are used for reptile bedding. Who knew? Stuff the pincushion as firmly as
you can, sew the opening closed, and your pincushion is ready for action.
- Get link
- X
- Other Apps


